
If you’re skeptical about the concept of turning fresh kale into crispy, oven-baked kale chips, I completely understand. I was doubtful as well. This trendy snack is huge among health food enthusiasts and countless recipes exist on the internet … each has its own signature. Seasonings may vary, but the cooking process is all the same. Below are a few tips I learned from much trial and error.
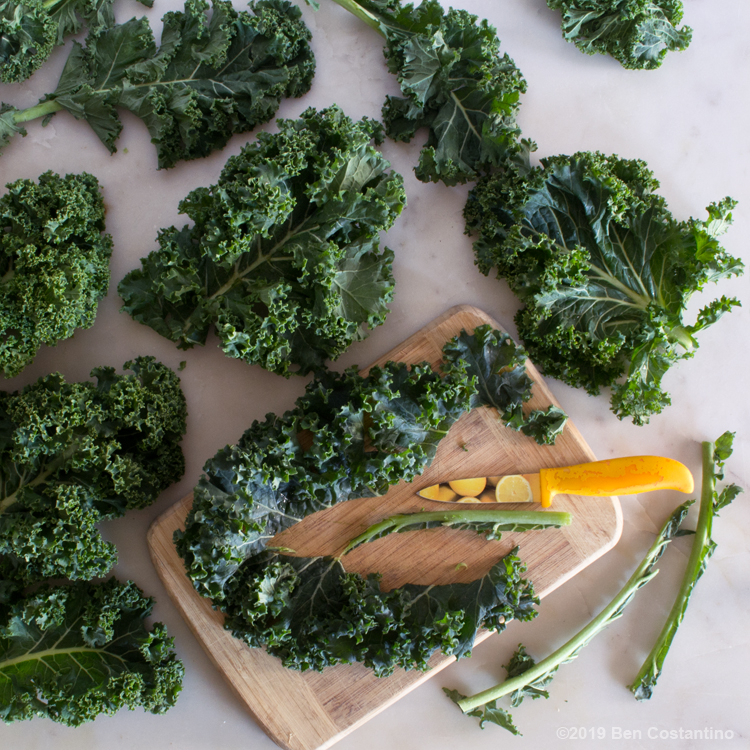
- Cut out the stems. Kale stems don’t bake at the same rate as the leaves, so slice them out. Simply store them in your freezer for later use in a vegetable stock. By no means should you throw them away.

- You don’t need much oil to make kale chips My first batch was way too oily because I just added olive oil out of habit. It’s easy to assume all veggies need some, but this kinda doesn’t. I like to add a little, but some people completely omit it like Berta Jay does an her YouTube channel.
- Cut your kale into large pieces. Even though I knew that greens shrink down quite a bit when cooked, I still was inclined to cut the kale into chip-sized pieces in my first lake chip attempt. This was so wrong. Cutting your kale leaves crosswise once into halves is just fine for smaller leaves. Larger leaves can be cut into thirds. I don’t suggest cutting them any smaller.
- Don’t overlap kale on the pan. Lay out your fresh kale in one layer with no overlap. Each chip needs to make a consistent connection with the hot surface in order to cook evenly. This simply can’t happen if others are in its way. If they all can’t fit, simply make another batch.
- Soak fresh kale in cold water. This hydration process gives you firm, nicely shaped leaves which yields more substantial chips. Food stylists actually use this trick people use to liven up greens for photoshoots. In a large pot, dissolve some kosher salt in room temperature water – which his kills any bugs. Add the kale. Then, simply let this hang out in the refrigerator until the water is cold and kale is firm and perky.
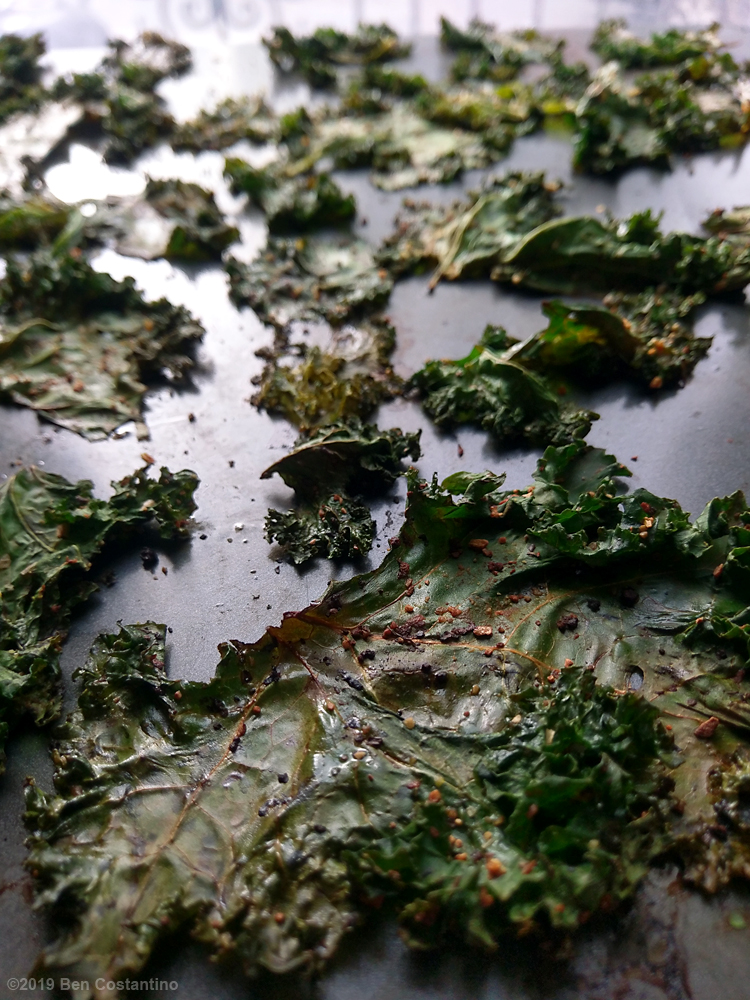
- Let your kale chips cool a bit before handling. Once out of the oven, your chips may not be too easy to handle. They may seem stuck to the pan, or not firm enough. The truth is that they’re still baking in the pan. Just calm down and do something else for a good 5 minutes. Use a spatula to carefully release them more easily.
- Do not discard the unused kale. No matter what, you’re going to have lingering kale flakes. Sure, you can try to gather them all up on your fingertips and shovel them into your mouth, but it’s difficult to get all of it. Use these remains for toppings on hummus or my Black Eyed Pea dip.
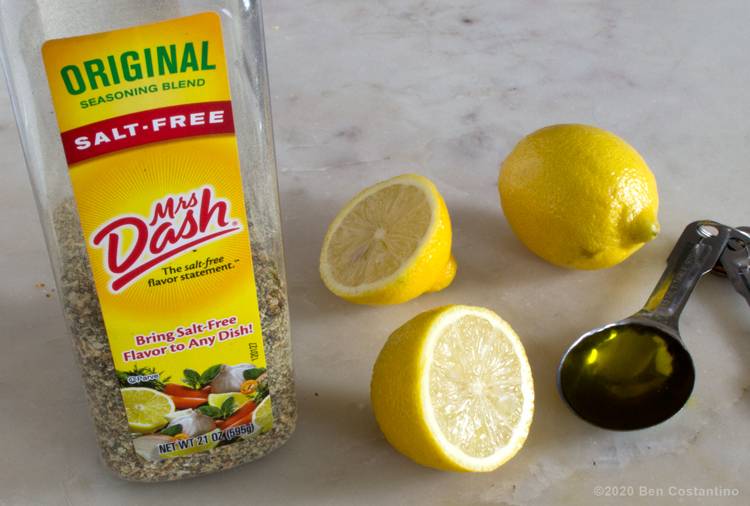
So, with all that said, here is my recipe for no-salt kale chips. I was recently introduced to Mrs. Dash no-salt seasoning, (pictured below) and it’s fantastic for these.

 Baked Kale Chips

![]()
Ingredients
- kale leaves, with stems removed
- Mrs dash no-salt seasoning, amount seasoned to your liking
- fresh lemon juice
- 1 tablespoon of olive oil
- kosher salt for soaking
![]()
Instructions
- After soaking your kale as explained above in Tip #5, strain out as much water as possible. Preheat your oven to 300 degrees.
- In a large pot with a fitting lid, add the olive oil, lemon juice and seasoning. Put the lid on and shake the kale to evenly distribute everything.
- Lay the seasoned kale on a baking sheet in one layer.
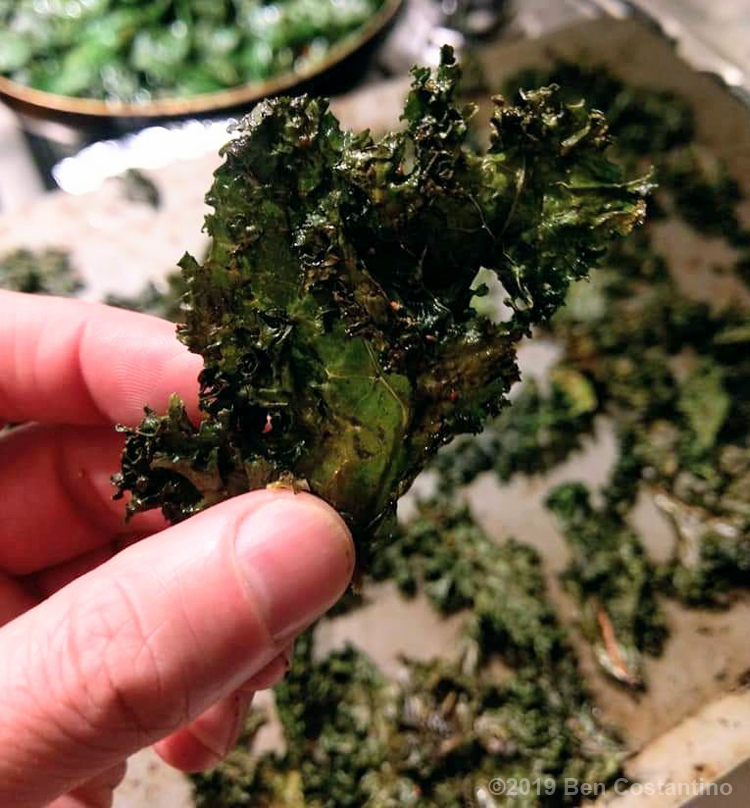
- Bake the kale at 300 degrees. The time usually varies, so you’ll need to keep an eye on them. Usually between 30 and 40 minutes will give you firm, crispy kale chips.

