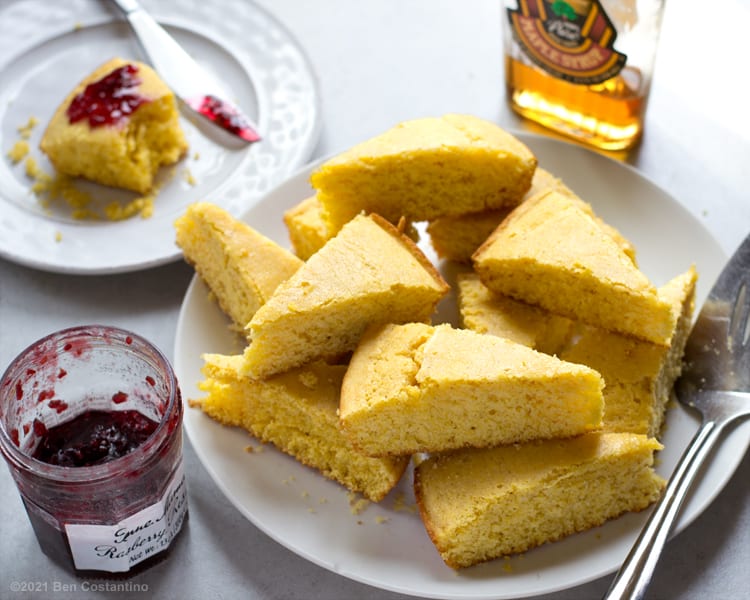

This recipe for maple cornbread is inspired by my what I call “heritage cooking”. Simply because, as a genealogy enthusiast I constantly wonder what my ancestors were eating. Or, if I was living back in any given time and place, I like to imagine what I would have cooked with the ingredients that were available. Historically, cornbread is very popular in Southern cooking and I wanted to “make it my own” with New England ingredients.
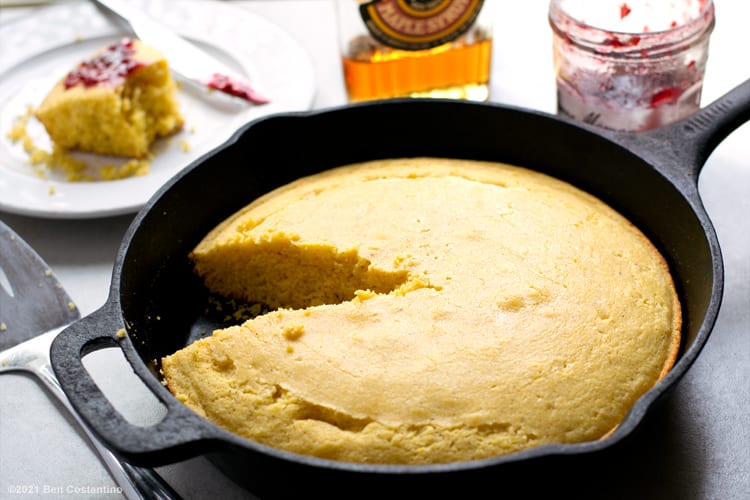
This is a “tad-sweet” cornbread recipe, and when baking with liquid sweeteners you have to add more dry ingredients to make up for the added moisture. Therefore, the ratio of dry ingredients to wet is different from other cornbread recipes, as maple syrup is about 30 percent water. Utilizing a higher ratio of cornmeal to flour highlights more of a corn flavor and texture. Simply put … I want more “corn” than “bread” in my maple cornbread. And to avoid a cake-like cornbread with a more coarse crumb, only one egg is sufficient.
When it comes to butter, I’m not just being elitist by choosing European butter. You can read all about how it’s different from The Kitchn, but generally it is better for baking due to its higher fat content. More fat gives you a lighter texture. I also feel like in the context of heritage cooking, it seems likely that European butter more closely resembles what “American” butter was in other centuries. Pure maple syrup is definitely a requirement here. Most mainstream “pancake syrups” are just corn syrup and food coloring, and I have no idea why they even exist … just use pure maple syrup!
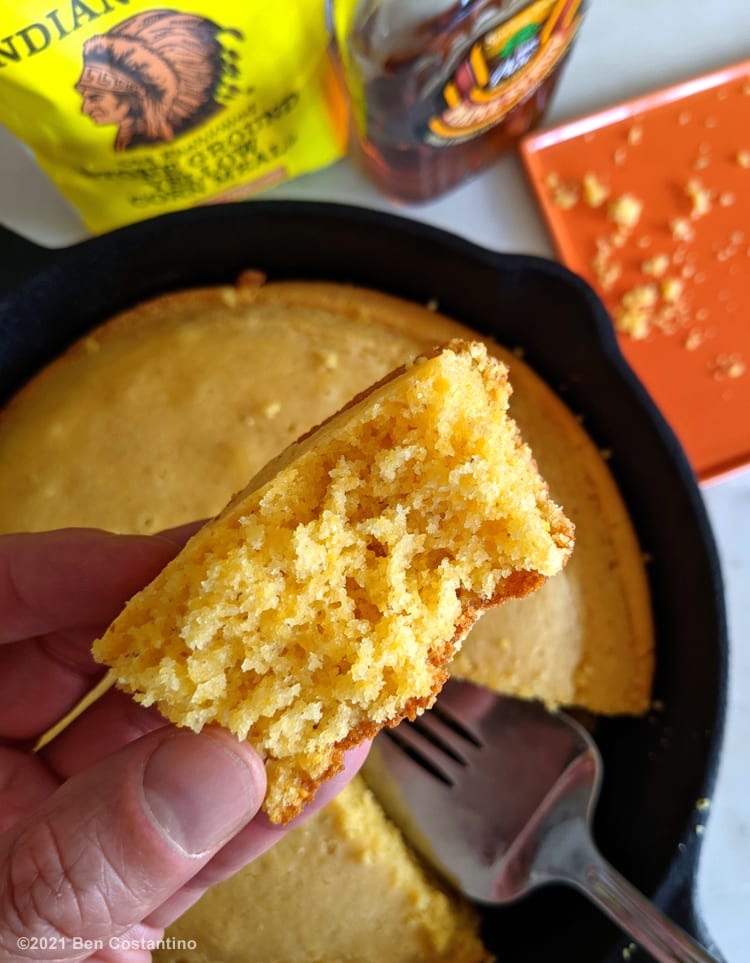
Why Maple Cornbread?
Throughout my extensive genealogy research I came across a jonnycake recipe in a book called The Narragansett by William S. Simmons where staple ingredients are cornmeal, maple syrup, and berries. To clarify … my Black family partially descends from the Narragansett and Pequot Tribes of Rhode Island and Connecticut, pictured below.
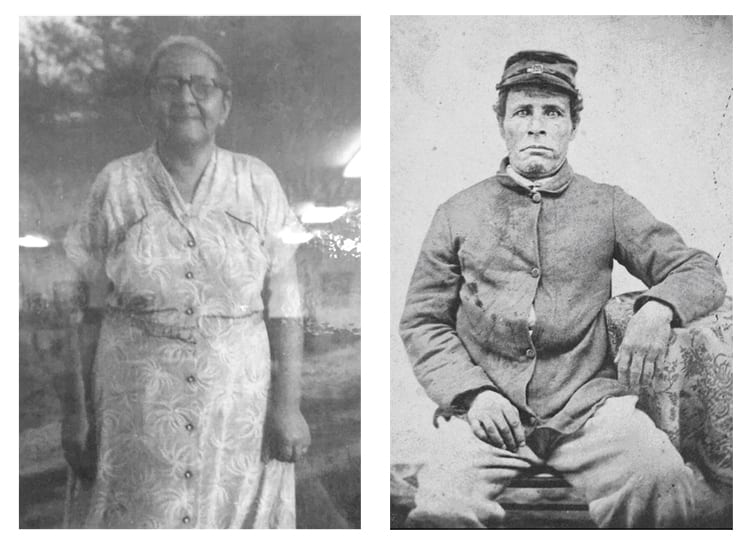
Some of my Native American ancestors; my great grandmother of the Rhode Island Narragansett Tribe, and my 4th great grandfather of the Connecticut Pequot Tribe.
From my food history research, I came across evidence of huckleberry jonnycakes being prepared by Black cooks in 18th century Rhode Island. Then I got to thinking more and I had forgotten that in my second grade class we tapped trees to make fresh Maple syrup, and I remembered how common it was to encounter wild berries in New England while walking in the woods as a kid. So, all of these ingredients are key to this branch of my heritage cooking. I decided that any cornbread recipe I wished to “make my own” must use these ingredients. Given this rich history, Maple Cornbread with Berry Preserves just HAD to happen. So, here it is!
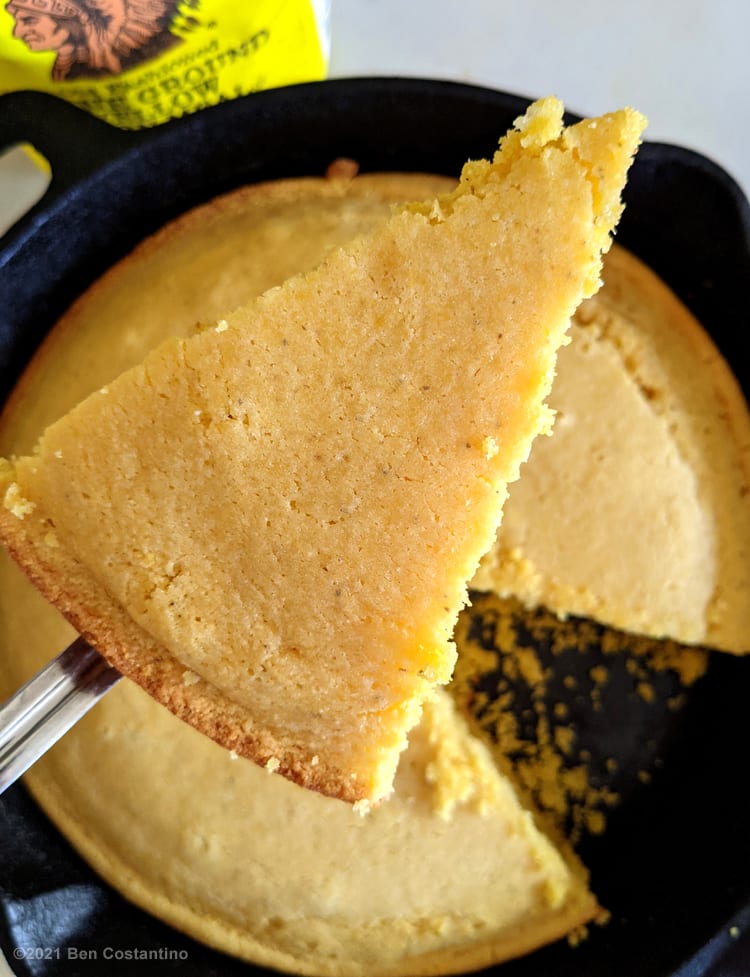
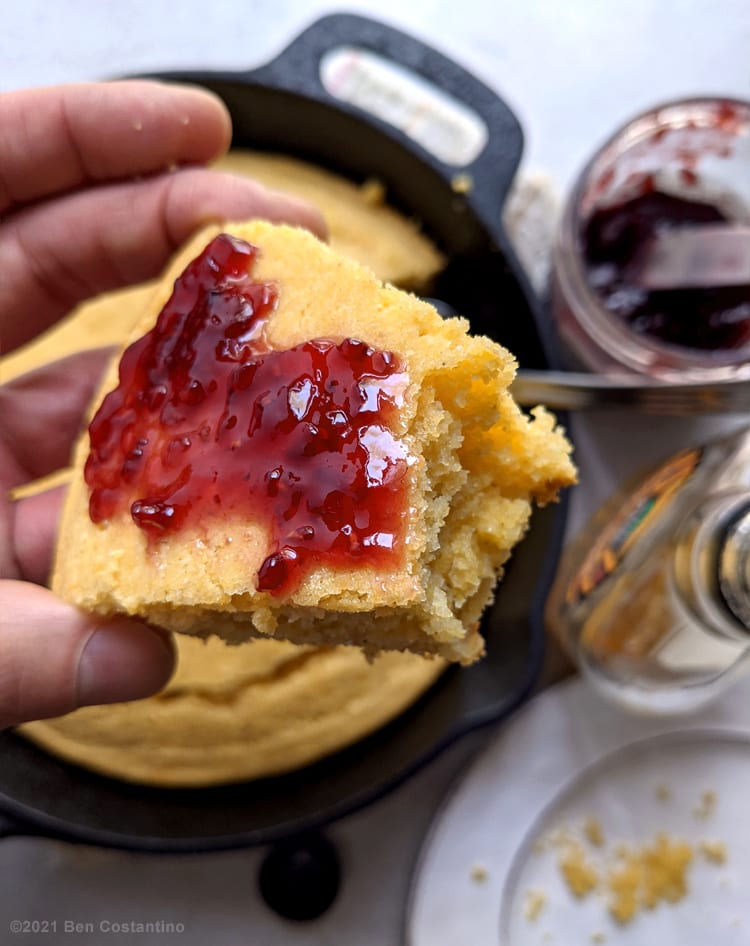
 Maple Cornbread with Berry Preserves
![]()
Ingredients
- 1 ½ cup cornmeal
- ⅔ cup flour
- 3 tsp baking powder
- 1 teaspoon salt
- 1/2 cup pure maple syrup
- 1 large egg
- 6 tablespoons, plus 2 tablespoons of unsalted European butter, divided
- 1 cup whole milk
![]()
Instructions
- Place a cast iron skillet in the oven. Preheat your over to 400 degrees.
- In a large bowl, combine the dry ingredients … cornmeal, flour, baking powder and salt.
- Melt the 6 tablespoons of butter in the microwave, at half power for about 45 seconds. In a separate smaller bowl, combine the wet ingredients … milk, egg, pure maple syrup and melted butter. Mix these with a fork or whisk until thoroughly incorporated.
- Add the wet ingredients to the dry ingredients and stir with a spatula just until it is thoroughly incorporated and no lumps are present. Do not over-mix and do not use an electric mixer.
- By now, the cast iron skillet in the oven should be really hot. Carefully remove it from the oven and place the remaining 2 tablespoons of butter in the skillet. It should sizzle. Quickly swirl the butter around the skillet to coat it evenly, including the sides and edges.Immediately pour the batter into the hot skillet while it is still hot. It should be sizzling when poured, this gives your cornbread a nice crunchy crust.
- Bake this for almost 30 minutes, until the center is firm and doesn’t appear wet-looking. Start checking it around 25 minutes, because ovens may vary.
