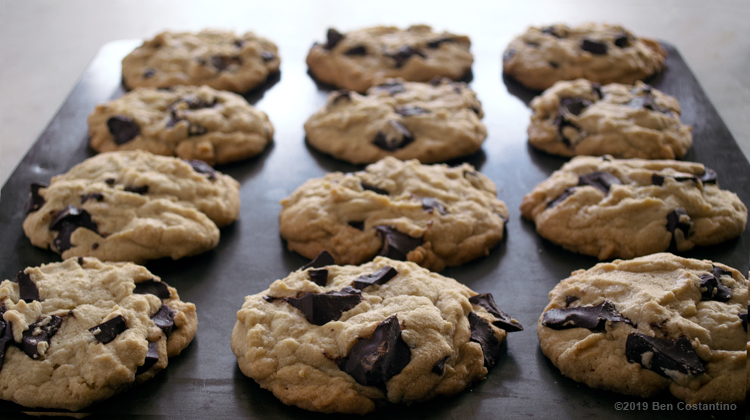
Through much trial and error from the age of 8, I have developed my own set of chocolate chip cookie tips. In about 1984, my oldest sister burned a batch of Nestle Tollhouse cookies and I whined so much that I was actually crying. Even after that traumatic incident, she made them countless times and they were always horrible. From then on, I was determined to make them just the way they appeared in pictures.
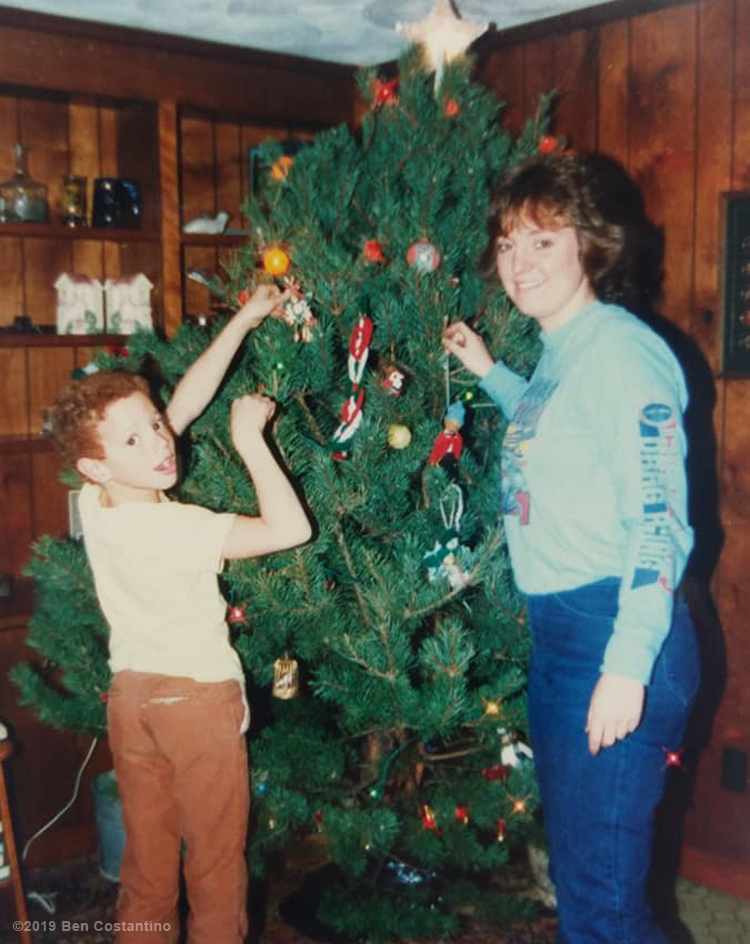
Me with my oldest sister who was the inspiration behind learning how to make chocolate chip cookies.
Of course, these chocolate chip cookie tips can be applied to some other types of cookies. But these are my babies. In college when I worked in a gourmet deli, we had a really mean, hard-to-please boss out of culinary school. The day I brought in a batch of my cookies for the crew, I earned a few brownie points with her. I saw her approaching out of the corner of my eye and thought I was in trouble. Instead, I was showered with praise about the perfect texture of my cookies.

It was at this job in a gourmet deli in in Minneapolis where I first received praise from a professional chef about my Chocolate Chunk Cookies, circa 1998.
Another crucial influence in my cookie culinary history comes from my mom. For 13 years she was a Girl Scout leader and I tagged along on all of the troop’s activities. As a fundraiser, they sold cookbooks full of recipes submitted by all the girls and my mom included a recipe from me … Chocolate Chip Squares or Bars. This was technically my first published recipe at the age of 8. I had no idea I would one day have a cooking blog, and it just so happens that my first recipe on my blog was Bittersweet Chocolate Chunk Cookies. My instructions were getting so complicated that chocolate chip cookie tips need their own page.
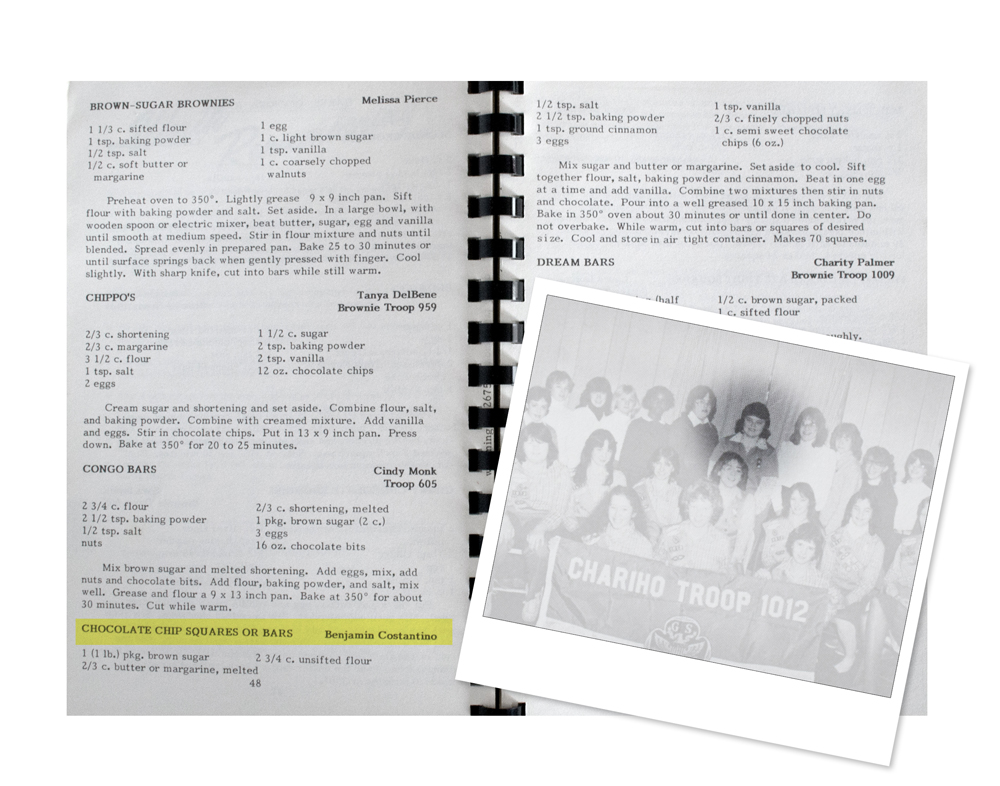
Having my mom include me in her Girl Scout troop’s cookbook was my first published recipe at the age of 8 … for Chocolate Chip Squares or Bars.
So … below is my long list of dos and don’ts. Not having gone to culinary school, I can truly say I learned everything the hard way. Many decades of my failures and successes will save you time and money when you make your next batch.
 Chocolate Chip Cookie Tips
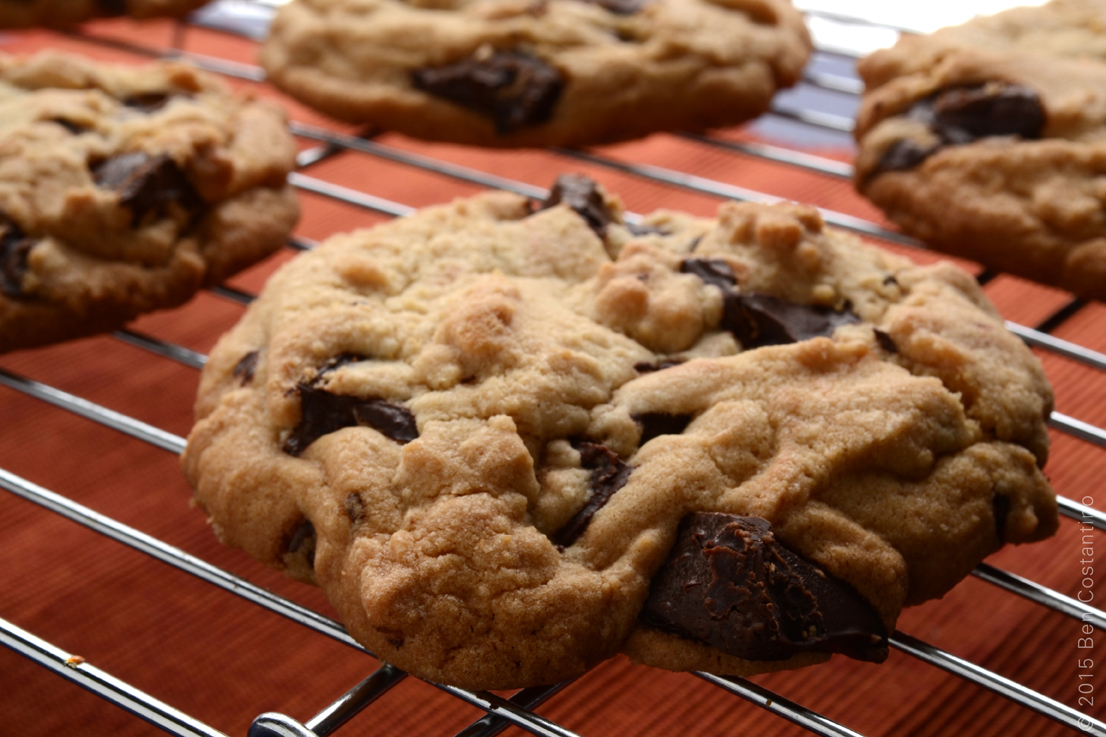
1. Cut your own chocolate chunks.
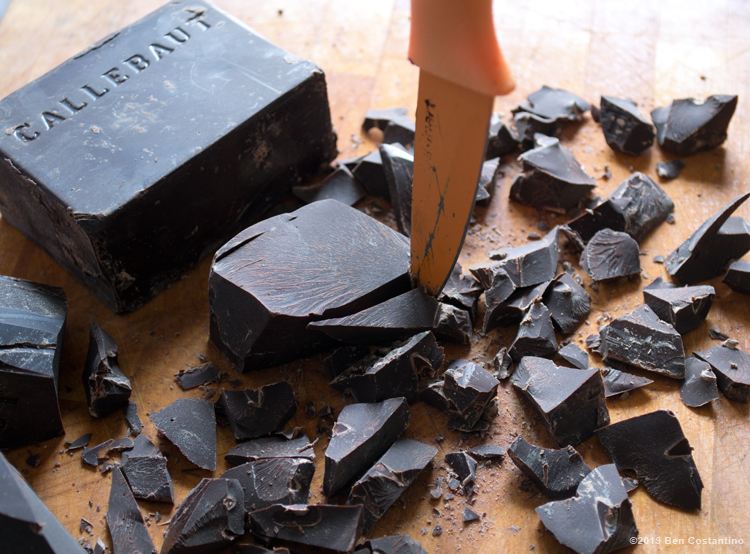
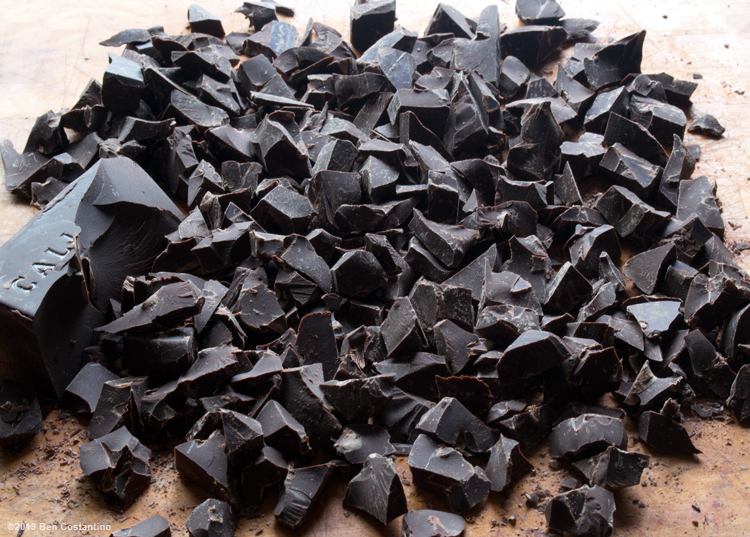
Making your own chocolate chunks gives your cookies more character. Also, you have the flexibility to combine different types of chocolate. Most mainstream chocolate chips are semisweet, but consider trying bittersweet or even milk chocolate. Callebaut is the brand that I love. Simply use the tip of a sharp knife to chisel away pieces from a chunk of baking chocolate. Do this first.
Use a small knife that you don’t care too much about and use your palm as a mallet. It takes a while, but well worth it. You don’t want any small shavings because they will melt off in the dough. Hand pick each chocolate chunk and set them aside. Save the shavings for something else like ice cream toppings.
2. Butter temperature is crucial.
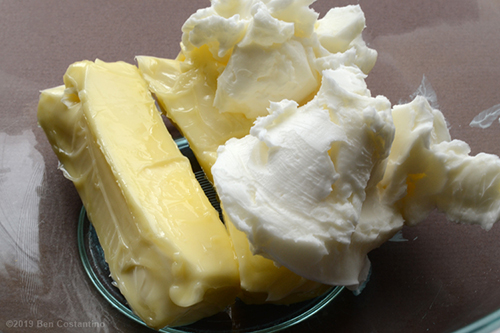
If the butter is too warm and soft, your cookies will be wide and flat. Cooler butter will yield more height, such as the case with making scones where the butter is really cold. My recipe uses half shortening and half butter because I praise the texture shortening provides. If you’re not into using shortening, just use it as a point of reference for your butter temperature and consistency. To quickly heat up your butter you can cover it in saran wrap and pound it with a rolling pin a few times, see below.
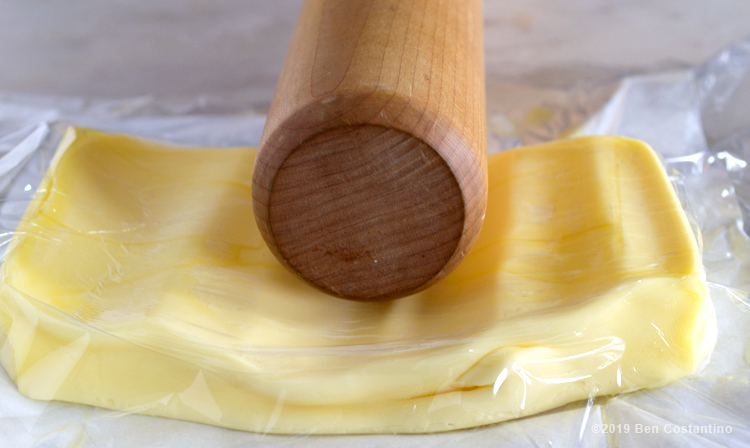
Pounding cold butter with a rolling pin speeds up the butter-warming process.
3. Mix everything by hand and don’t over-mix.
Roll up your sleeves, wash your hands and really get in there. If you’re not crazy about using your hands, use a fork. Or, I find a pastry blender is extremely effective (see below). Mix everything just until ingredients are incorporated. Most importantly … don’t use an electric mixer.
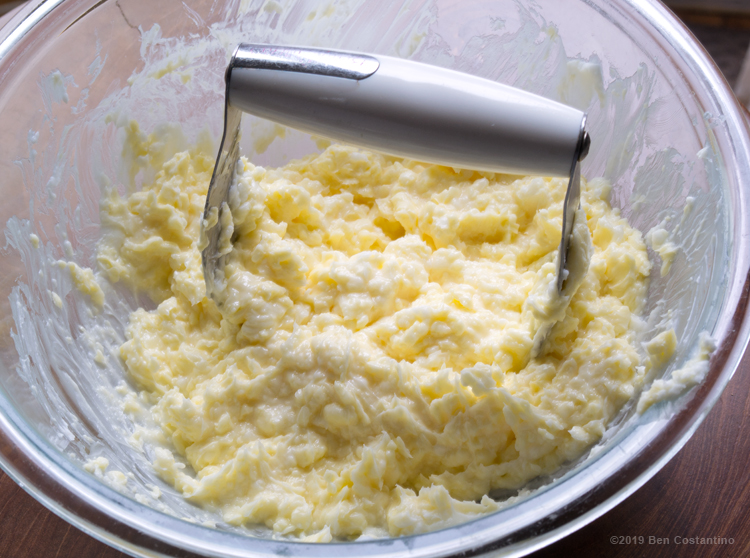
Feel free to use a pastry blender to cream your butter if you’re not into using your hands.
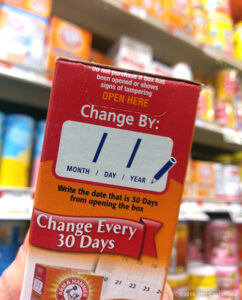
4. Don’t use old baking soda.
Baking soda expires 30 days after you open it. Not only does it lose its effectiveness in helping to obtain a nice rise, but it also absorbs odors. You definitely don’t want absorbed odors tainting your cookies. If you don’t bake often and you have baking soda just laying around in your cupboard, chances are that it’s expired. So, definitely buy a new box.
5. Eggs need to be at room temperature.
Baking with cold eggs is a universal rule to all recipes, so here it’s no different. Take your eggs out of the refrigerator a few hours ahead of time. Placing them in luke-warm water can help speed up this process.
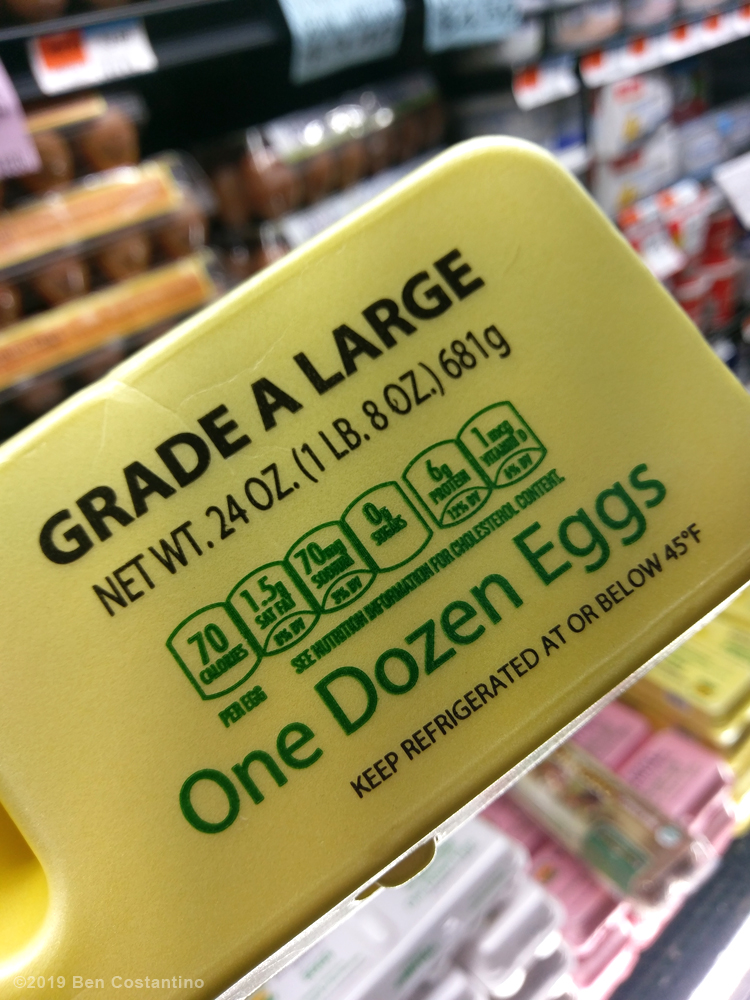
6. Use large eggs.
Bigger is not better in this case, so don’t try using extra large or jumbo eggs. Too much egg will make your chocolate chip cookies cake-like. When a recipe says to use large eggs, they really mean it. Large eggs are actually the unwritten standard in baking.
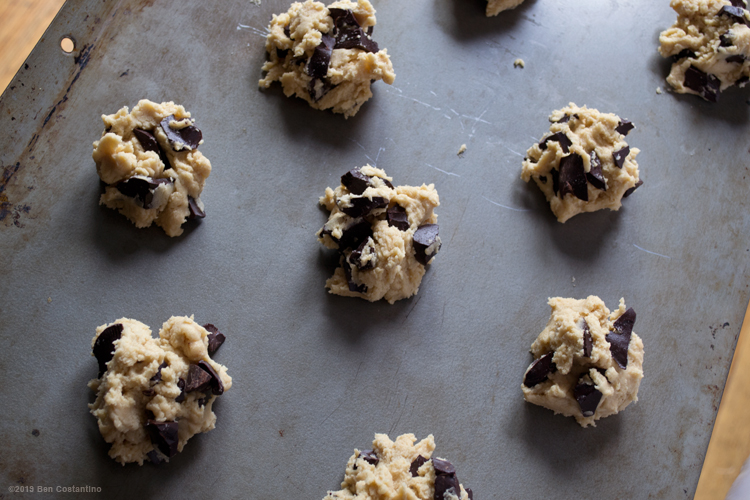
7. Do not roll the dough into balls.
Sure you can do this if you really want to, but you won’t achieve a nice texture with peaks and valleys on its surface. Also, the less you handle the dough, the better – which ties in with Tip #3 on not over-mixing.
8. Do not save the dough to bake later.
This is one of my chocolate chip cookie tips that I learned in high school. Saving the dough never works out well because the baking soda has a window of time to be effective for a good rise. My recipe actually yields the amount for a double batch, and you just have to push through if you’re losing steam. Use it all up!
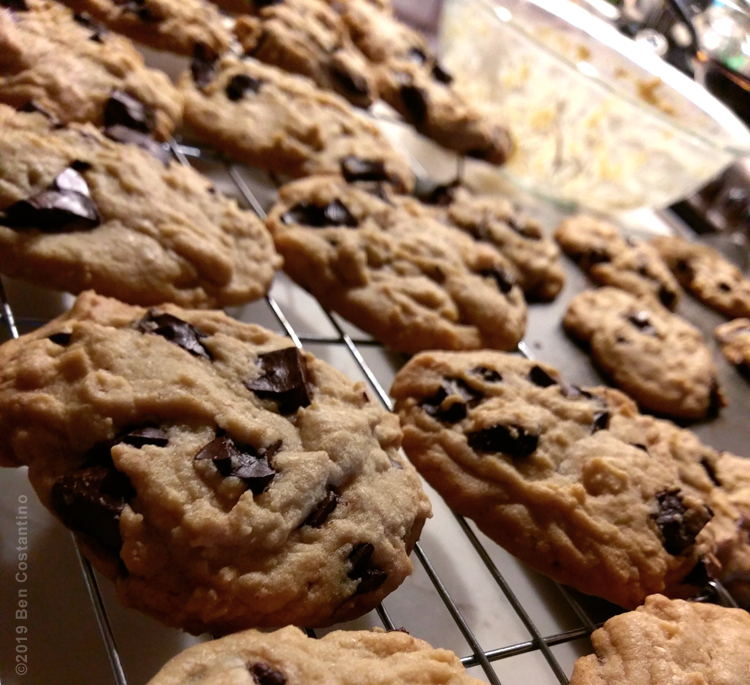
Using up all of the cookie dough often means baking batches into some late hours of the evening. These were still happening at 11:45 PM.
9. Factor in cooling time.
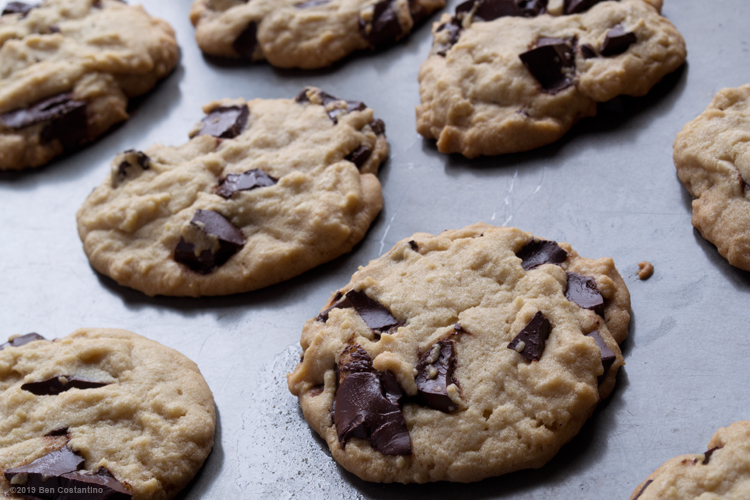
Many people love a hot, gooey chocolate chip cookie with molten chocolate fresh out of the oven. However, during this cooling time, your cookies are still technically baking on the pan. Remove them from the oven as soon as they start to turn a little golden. It’s okay if they seem a little under-done. Unless you’re in a situation where you may have over-baked them, leave the cookies alone for at least 10 minutes. Go do something else and forget about them completely. Put the entire sheet on a wire rack so the heat can release from the bottom as well as the top. After the 20 minutes your cookies should be just firm enough to transfer onto the wire racks individually without falling through the grates.
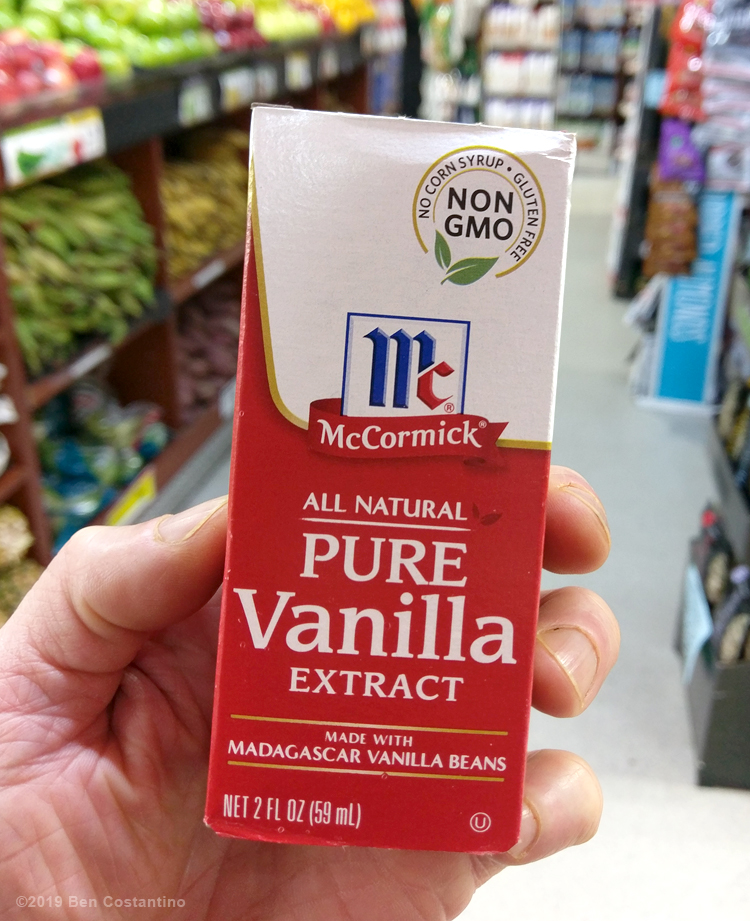
10. Use pure vanilla extract.
The world of vanilla extract is quite vast and I’m not exactly sure why imitation vanilla extract even exists … or what it consists of. You can spend lots of money on a really good brand – such as Nielsen Massey – but McCormick offers pure vanilla extract at almost every mainstream supermarket in the $6–$10 price range.
Well, that’s really all you need to know. Good luck!
